

Thymeleaf 레이아웃
1. include방식
SampleController
    //include방식 처리
    @GetMapping("/exLayout1")
    public void exLayout1() {
        log.info("exLayout---------");
    }
fragment1.html
<body>
<div th:fragment="part1">
    <h2>Part 1</h2>
</div>
<div th:fragment="part2">
    <h2>Part 2</h2>
</div>
<div th:fragment="part3">
    <h2>Part 3</h2>
</div>
</body>
exLayout1.html
<body>
<h1>Fragment Test</h1>

<h1>Layout 1 - 1</h1>
<div th:replace="~{/fragments/fragment1 :: part1}"></div>

<h1>Layout 1 - 2</h1>
<div th:insert="~{/fragments/fragment1 :: part2}"></div>

<h1>Layout 1 - 3</h1>
<th:block th:replace="~{/fragments/fragment1 :: part3}"></th:block>

</body>

exLayout1.html이 fragment1.html의 조각들을 가져와서 사용한다.
- th:replace: 기존의 내용 완전히 대체
- th:insert : 기존의 내용의 바깥쪽 태그 유지하고 내용 추가하기
2. 레이아웃 템플릿 만들기
layout1.html
<!DOCTYPE html>
<html lang="en" xmlns:th="http://www.thymeleaf.org">
<th:block th:fragment="setContent(content)">
    <meta charset="UTF-8">
    <title>Title</title>

    </head>
    <body>
    <style>
      	...생략
    </style>

    <div class="header">
        <h1>HEADER</h1>
    </div>
    <div class="content">
        <th:block th:replace="${content}">
        </th:block>
    </div>
    <div class="footer">
        <h1>FOOTER</h1>
    </div>
    </body>
</th:block>
</html>
SampleController : /exTemplate추가
//include방식 처리
@GetMapping({"/exLayout1", "/exLayout2", "/exTemplate"})
public void exLayout1() {
    log.info("exLayout---------");
}
exTemplate.html
<!DOCTYPE html>
<html lang="en" xmlns:th="http://www.thymeleaf.org">
<th:block th:replace="~{/layout/layout1::setContent(~{this::content})}">
    <th:block th:fragment="content">
        <h1>exTemplate Page</h1>
    </th:block>
</th:block>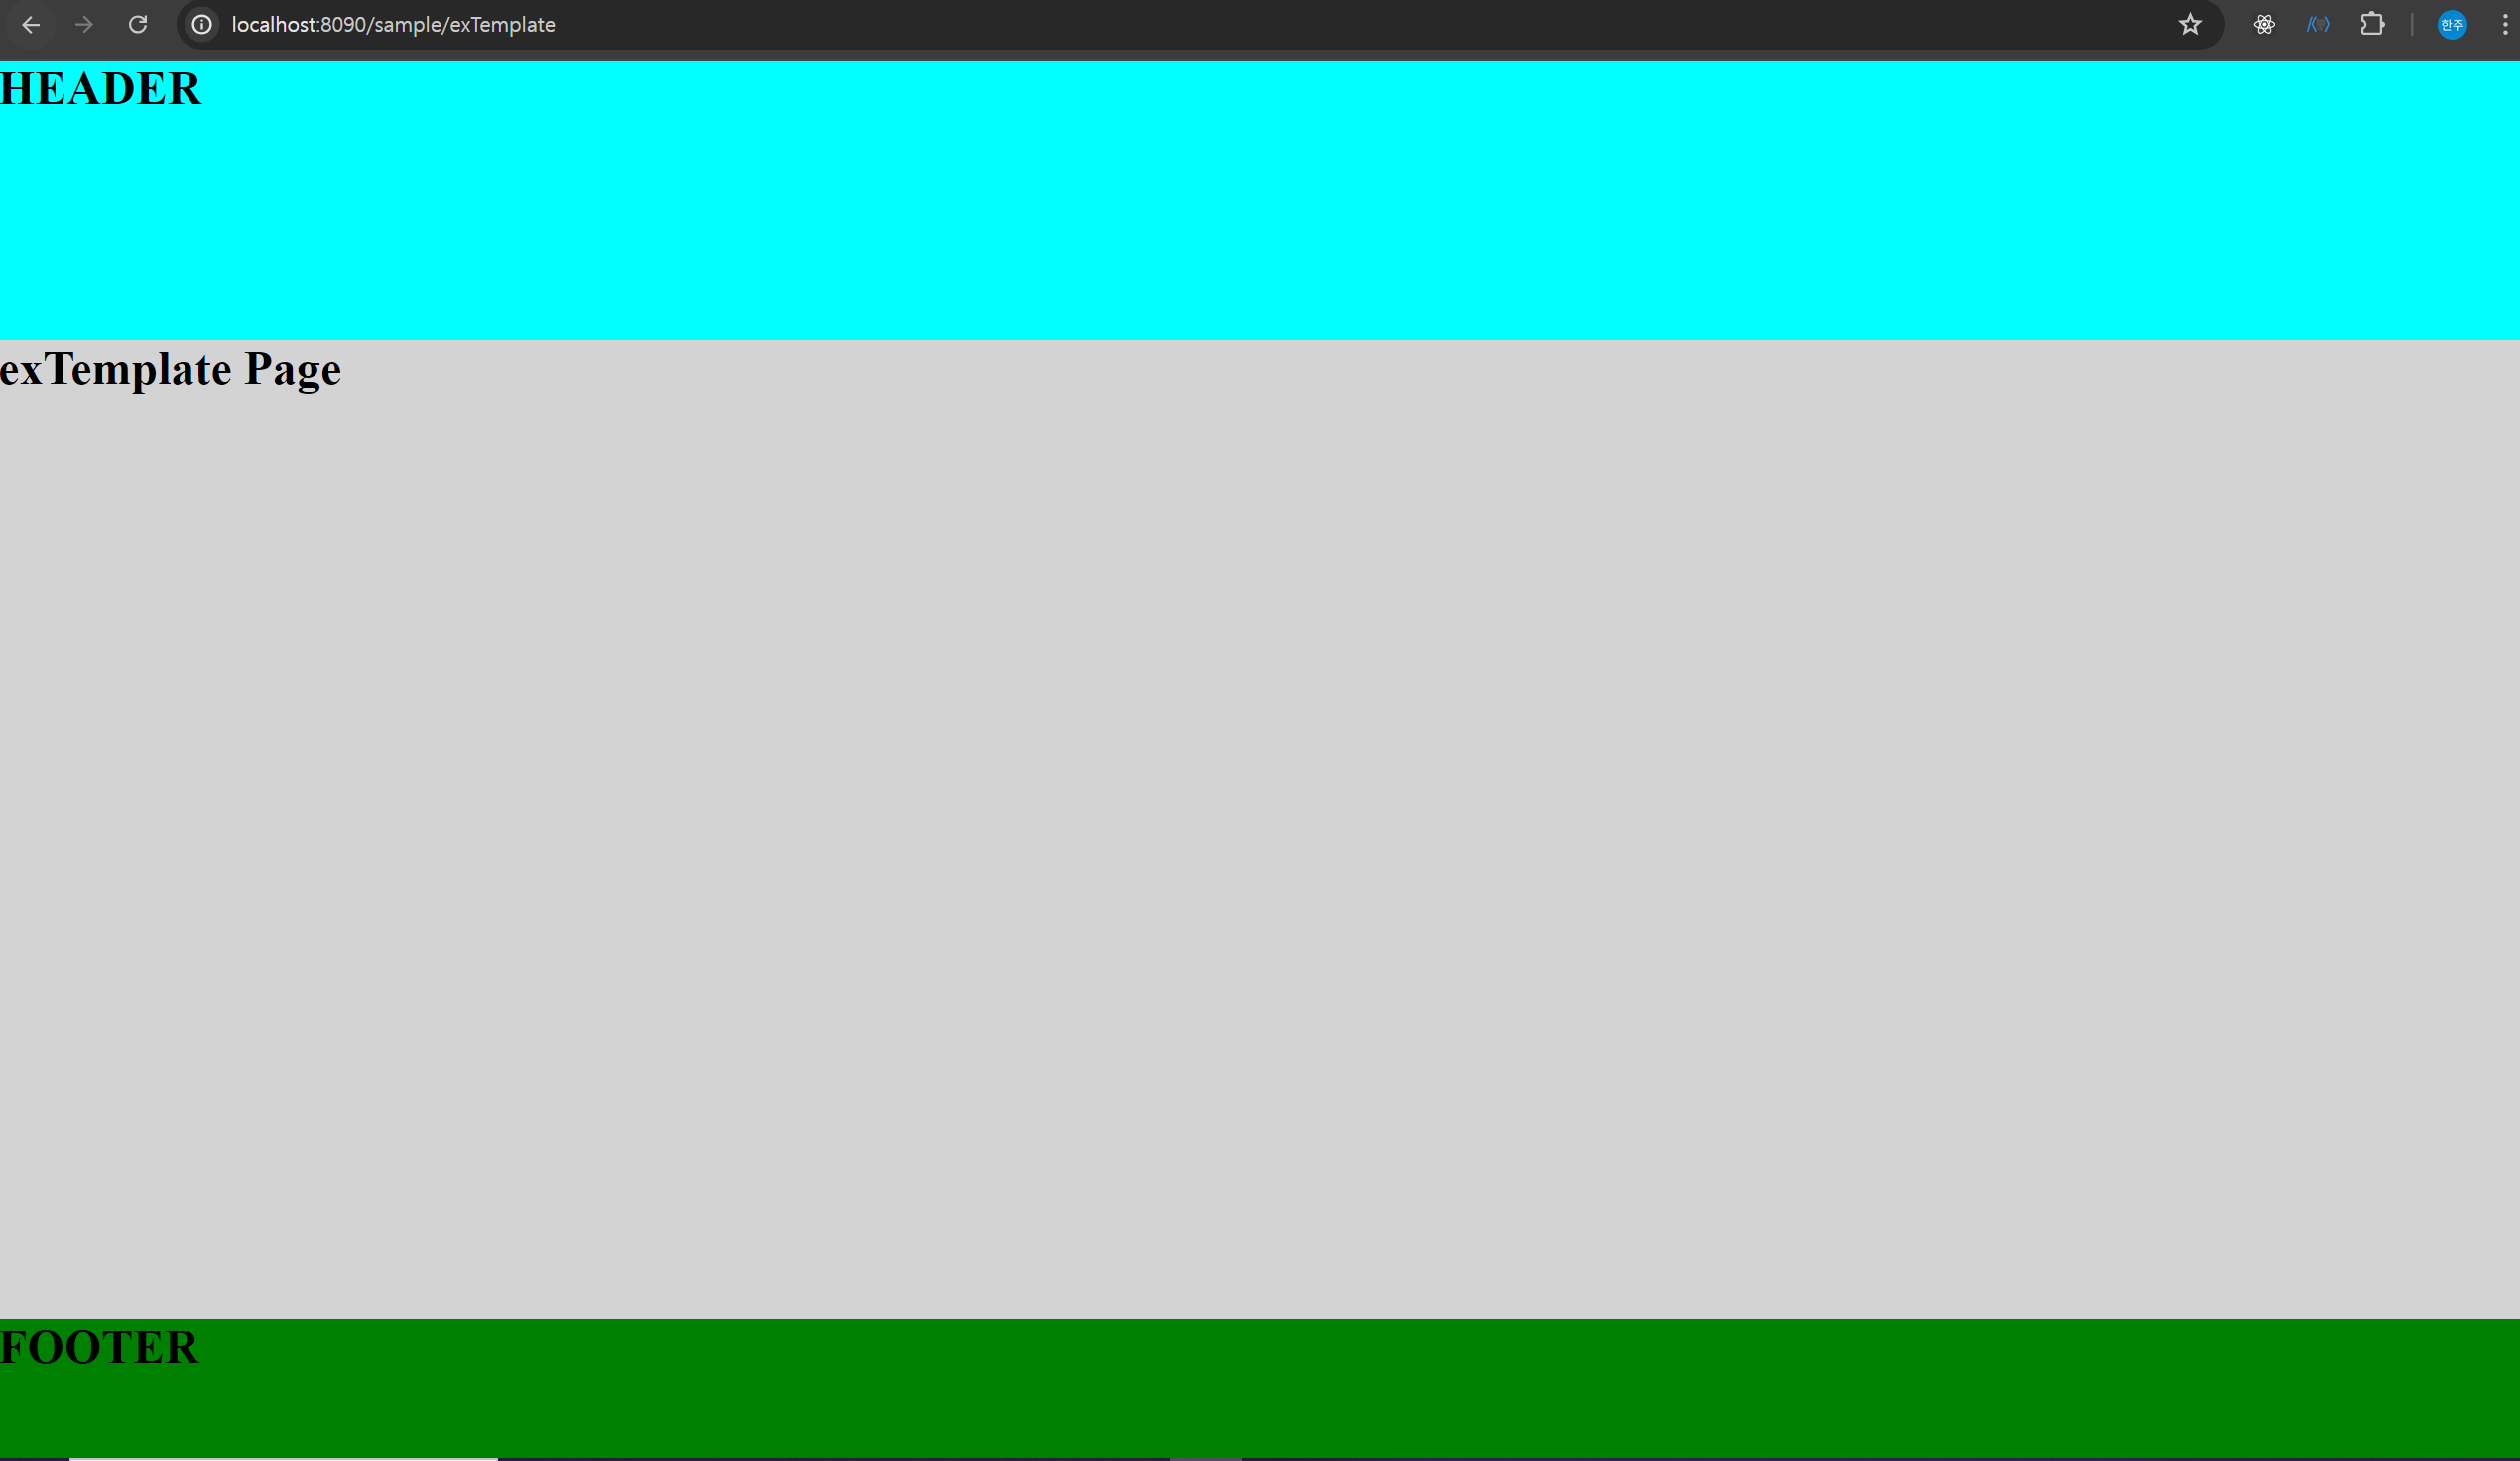
- exTemplate접속하면 컨트롤러에서 exTemplate.html을 쏴준다
- exTemplate.html에서는 layout1을 불러옴과 동시에 content를 setContent로 쏴준다.
- 그럼 layout1에서는 content를 받아서 ${content}에 넣어주고 exTemplate.html로 보낸다.
- exTemplate.html는 th:replace 안에 layout1.html에 넣어 화면에 띄워준다.
3. 부트스트랩 템플릿 적용하기
<head>
    <meta charset="UTF-8">
    <title>Simple Sidebar - Start BootStrap Template</title>
    <!--BootStrap core css-->
    <link th:href="@{/vendor/bootstrap/css/bootstrap.css}"
          rel="stylesheet">
    <!--Custom styles -->
    <link th:href="@{/css/simple-sidebar.css}" rel="stylesheet">

    <!--Bootstrap core JS-->
    <script th:src="@{/vendor/jquery/jquery.js}"></script>
    <script th:src="@{/vendor/bootstrap/js/bootstrap.js}"></script>

</head>부트스트랩 적용하는건 뭐 이런식으로 하면 된다,, 부트스트랩이 난 좋다
'Spring Boot' 카테고리의 다른 글
| [ Spring Boot ] N:1 (다대일) 연관관계 part2 (0) | 2024.08.01 |
|---|---|
| [ Spring Boot ] N:1 (다대일) 연관관계 part1 (0) | 2024.08.01 |
| [ Spring Boot ] 스프링MVC & Thymeleaf part.2 (0) | 2024.07.30 |
| [ Spring Boot ] 스프링MVC & Thymeleaf part.1 (0) | 2024.07.30 |
| [ Spring Boot ] @Query 어노테이션, Querydsl (0) | 2024.07.30 |